Installing Kadee 802/806 or SHS 1295 "scale" couplers on most cars is pretty straightforward. The reason for these "step-by-step" instructions is to show what's involved and thus remove the fear factor that sometimes comes with an unknown operation. I'll do a few cars to show some different variations. This is the approach Mike Greene and I use, not necessarily the only approach. We want to share what we have learned, and we welcome the comments and experiences of other modelers working in this area.
The first car will be an SHS Wooden Billboard Reefer:
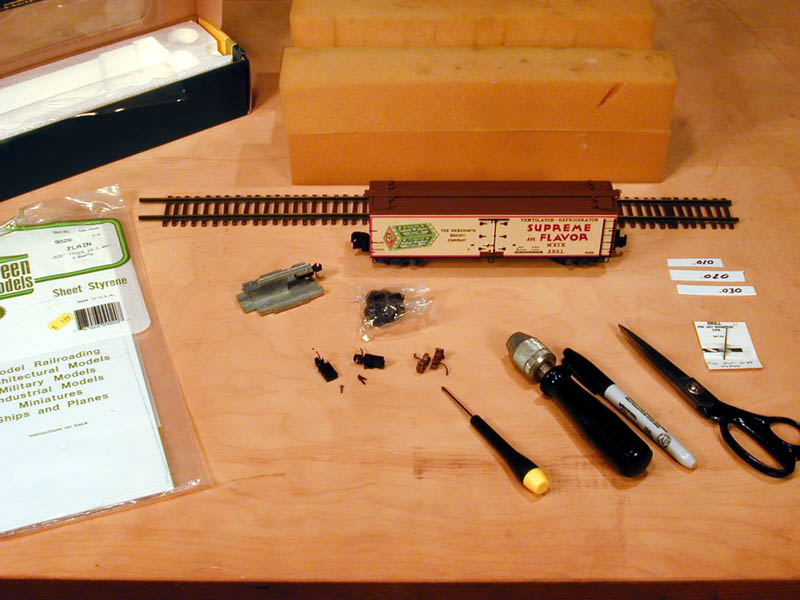
Here's my work area, ready to go. I have everything I need to do any of the cars I own. There is a foam cradle to avoid damaging the car, a piece of track and a Kadee coupler height gauge for testing, small phillips screwdriver (you also may need a small straight screwdriver if you use Kadee couplers), a hand drill and #56 bit for mounting holes if needed (the SHS car is pre-cored), and some shim stock if I need to modify the height of the coupler. I have sheet styrene in .010, .020, .030. and .040" sizes. I also have some precut pieces to use as feeler gauges. The scissors are to cut the shims, the marker to make them black. The bag in the middle came with the car, and includes the code 110 wheels and bolster shims. I also have a couple of pre-assembled Kadee 802s and a couple of SHS 1295s, which come pre-assembled. I always pre-assemble several Kadees at once, using the tip of a soldering iron to weld them closed, so they are ready when I need them.
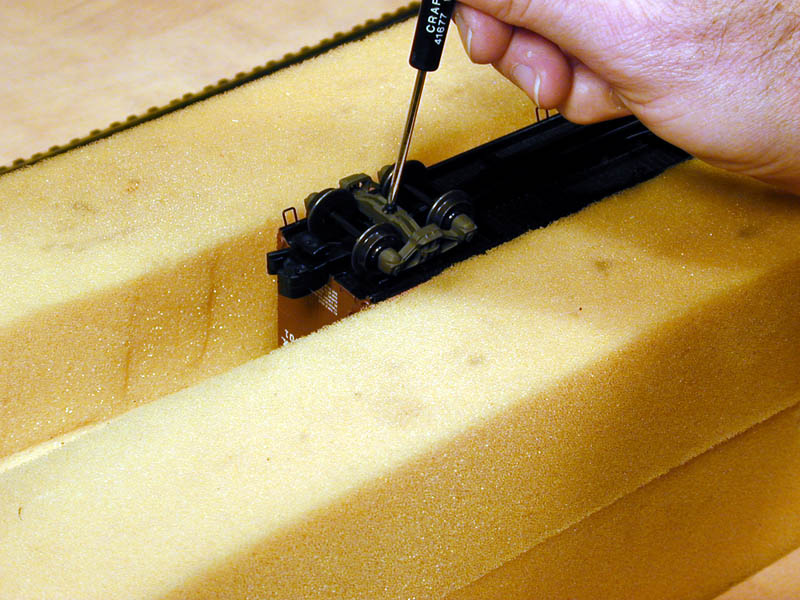
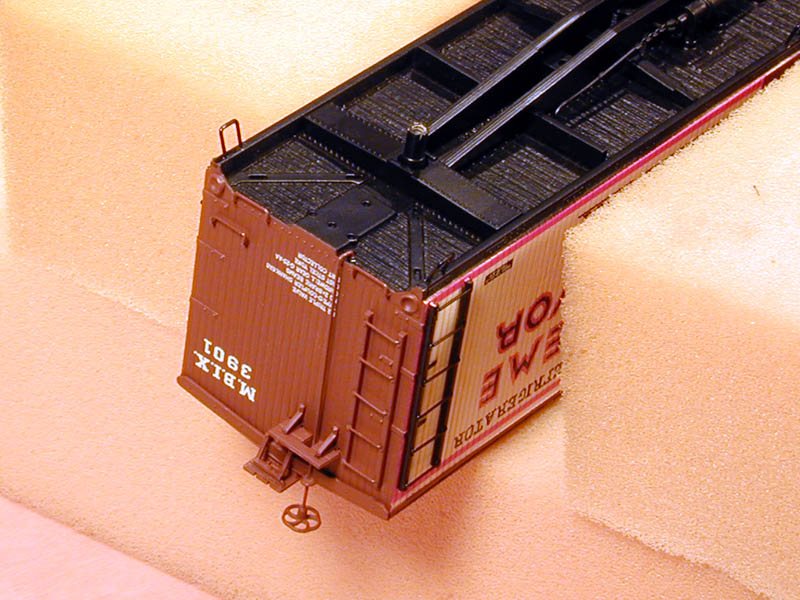
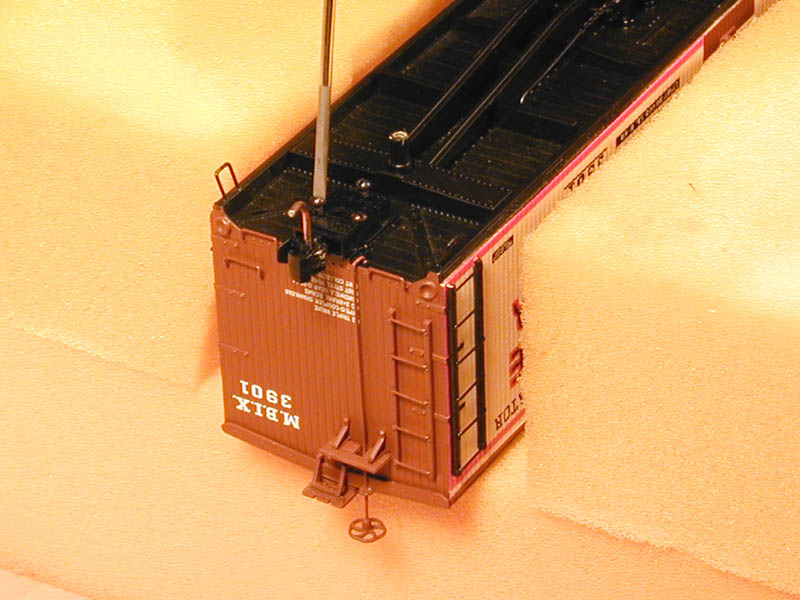
First step is to remove the trucks, so that you can remove the AF compatible couplers. I'm using an 00 x 40 Phillips, which seems to fit well.
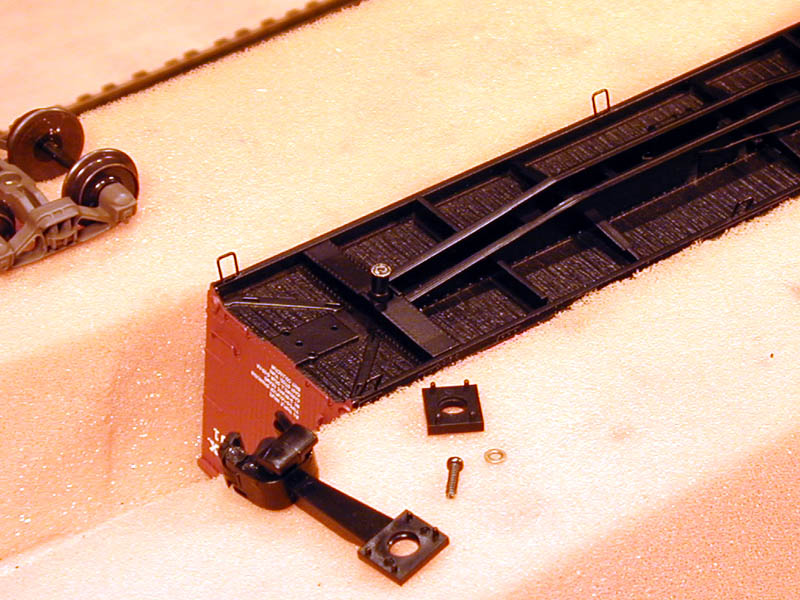
Note the bolster spacer pad which came with the car. It replaces the pad which is built into the AF compatible coupler. Put on the new pad and the truck, and replace the washer and screw. Be careful to start the screw straight, and don't tighten down too much. If you make it too tight the truck won't swivel freely, and it could deform the post that the screw goes into.
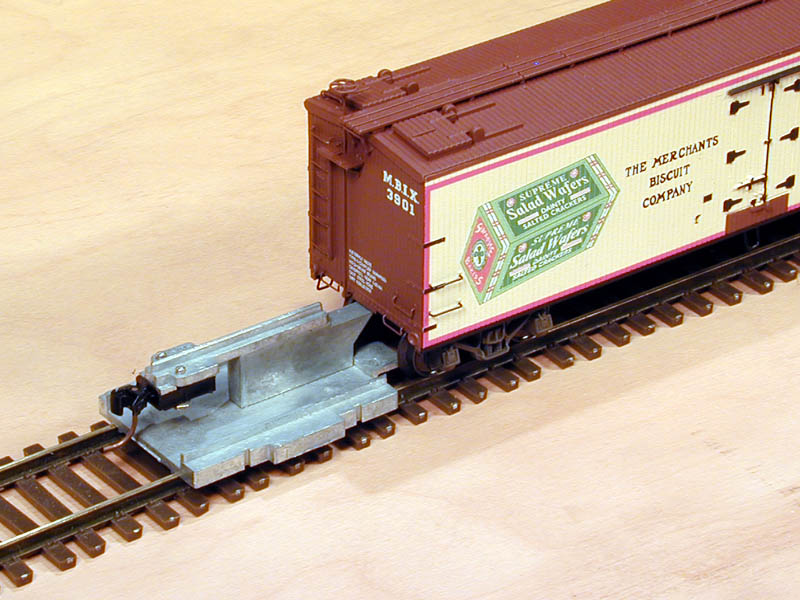
With the AF compatible couplers removed and the trucks replaced, test the car body height with the Kadee coupler height gauge. In this case, the height is just perfect. The car slides over the gauge with no clearance. If there is mismatch, I use the small strips of styrene as a feeler gauge to measure the problem and size the solution. If the body is too high, cut a coupler pad from the correct size styrene sheet, color the edges black with the marker, and install it above the coupler. If the body is too low, make a bolster pad from styrene the same way. NASG does not specify a tolerance, so I chose .010" as my acceptable tolerance. That's about .6" full scale, works well, and keeps me happy. If you love precision, there is no reason you can't get it as close as you want.
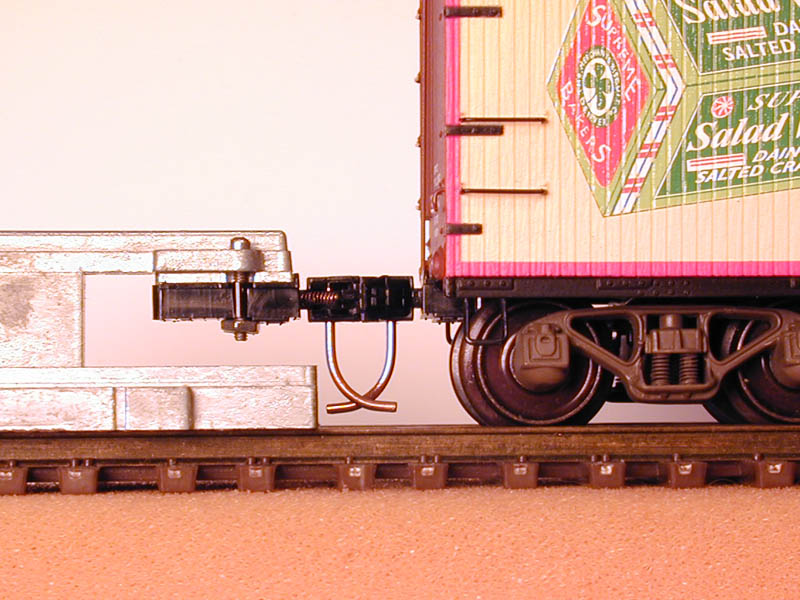
Notice that there are pre-drilled holes on the SHS cars that will accept the screws that come with Kadees or SHS 1295s. If you are using Kadees, use the short (1/4") screws. They will self-tap.
This car didn't require a coupler shim as the height of the body was perfect, so the coupler mounts directly to the car. I'm using 3 of the pre-drilled holes, and screwing in the 1/4" screws which came with the couplers. I'm using a 5/64 x 2 1/2 flat blade screwdriver, which works well. Make sure the coupler still moves freely in its box when all the screws are tight. If it binds at all, loosen the screws a bit.
With both ends done, its time to check with the gauge. Looks perfect to me! If the body height was correct but the coupler came out low, make sure there are no "bumps" or bits of extra plastic either on the coupler box or where it mounts on the car.
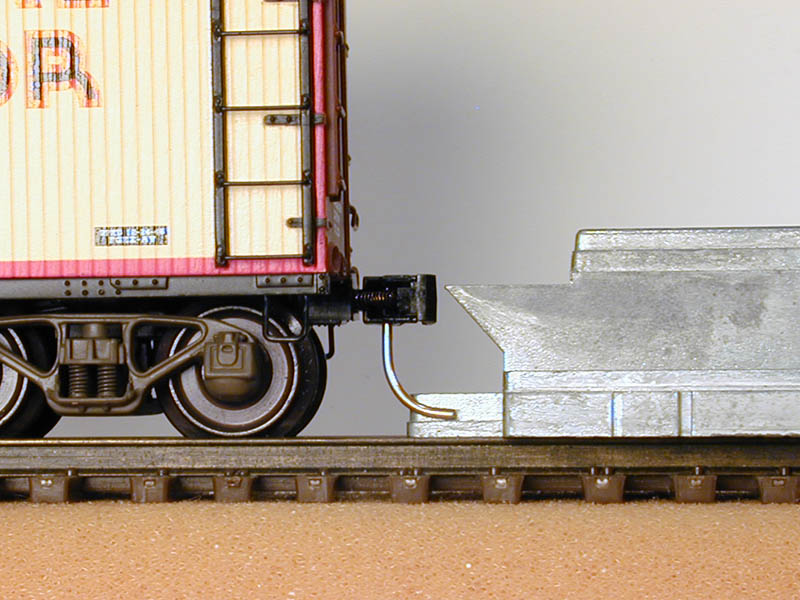
The last step is to check that the "glad hand" just slips onto the surface of the gauge. Bend it up or down as required.
And that's it, we're done! On a car like this, with pre-drilled holes and not requiring custom shims, it takes about 10 minutes per car using pre-assembled couplers.
Part 4: Chart of measurements, shims, hints, etc by model